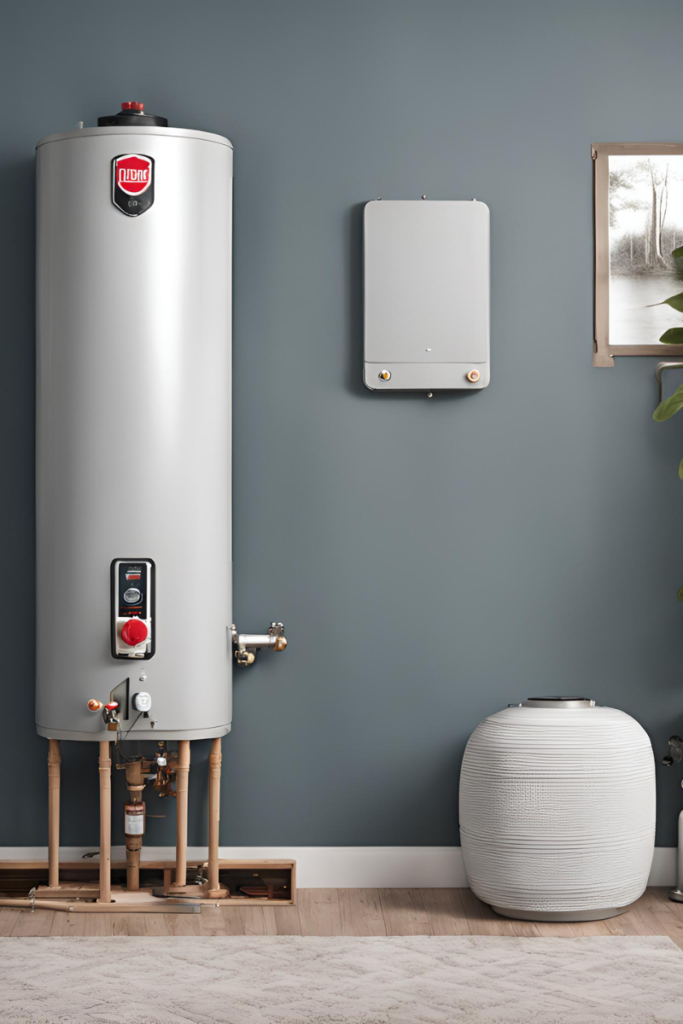
Introduction
A hot water heater is an essential appliance in any home, providing the comfort and convenience of warm water for daily use. One of the critical components that ensure its safe and efficient operation is the pressure valve. A properly functioning pressure valve maintains the necessary pressure levels within the tank, preventing potential hazards such as leaks or explosions. In this blog post, we’ll delve into the importance of the pressure valve, identify signs of a faulty valve, and guide you through the step-by-step process of fixing it, whether you’re a homeowner, DIY enthusiast, or professional plumber.
Signs of a Faulty Pressure Valve
Recognizing the symptoms of a malfunctioning pressure valve is crucial in preventing further issues. Here are some common signs that indicate a pressure valve problem:
- Leaking: Water leaking from the valve is a clear indication of a malfunction. This could either be a slight drip or a continuous leak.
- No Hot Water: If your hot water heater isn’t producing hot water, it could be due to a faulty pressure valve affecting the system’s operation.
- High/Low Water Pressure: Fluctuating water pressure can indicate that the valve isn’t maintaining the correct pressure levels within the tank.
- Discharge Pipe Issues: Frequent water discharge from the pipe attached to the valve suggests the valve might be failing.

Understanding How the Pressure Valve Works
The pressure valve, also known as the temperature and pressure relief (T&P) valve, is a safety device located on your hot water heater. It automatically releases water if the pressure or temperature inside the tank exceeds safe limits, preventing potential damage or explosion. The valve is designed to open at specific pressure and temperature thresholds, releasing excess water and steam to maintain safe operating conditions.
Tools and Materials Needed
Before you begin repairing or replacing the pressure valve, gather the necessary tools and materials:
- Adjustable wrench
- Screwdriver
- Pipe wrench
- Teflon tape
- Replacement pressure valve (ensure it matches your hot water heater specifications)
- Bucket or hose (to drain water)
- Safety gloves and goggles
Step-by-Step Guide to Fixing the Pressure Valve
Follow these detailed steps to safely and effectively repair or replace the faulty pressure valve on your hot water heater:
Step 1: Turn Off the Power and Water Supply
- Electric Heater: Switch off the power at the circuit breaker.
- Gas Heater: Turn the gas control knob to the “Pilot” position.
- Shut off the cold water supply to the heater.
Step 2: Drain the Tank
- Connect a hose to the drain valve at the bottom of the tank and direct the other end to a suitable drainage location.
- Open the drain valve and allow the tank to empty partially. This will reduce the pressure and prevent water spillage when you remove the valve.
Step 3: Remove the Faulty Pressure Valve
- Locate the pressure valve (usually on the top or side of the tank).
- Use an adjustable wrench to loosen and remove the valve. Be prepared for some residual water to escape.
Step 4: Prepare the New Pressure Valve
- Wrap Teflon tape around the threads of the new valve to ensure a tight seal.
- Carefully screw the new valve into the opening, using a wrench to tighten it securely.
Step 5: Refill the Tank
- Close the drain valve and remove the hose.
- Turn the cold water supply back on and allow the tank to fill completely.
Step 6: Restore Power and Test the Valve
- For electric heaters, switch the power back on at the circuit breaker.
- For gas heaters, turn the gas control knob back to the “On” position.
- Once the tank is full and the heater is operational, test the new valve by lifting the test lever to ensure it releases water. This confirms the valve is functioning correctly.
Testing and Safety Tips
After replacing the pressure valve, it’s essential to conduct a thorough check to ensure everything is working correctly:
- Inspect for Leaks: Check around the newly installed valve for any signs of water leakage.
- Test the Valve: Lift the test lever periodically to ensure it releases water and reseals correctly.
- Monitor Performance: Observe the heater’s performance over the next few days to ensure stable water temperature and pressure.
Safety Precautions
- Always wear safety gloves and goggles to protect yourself from hot water and potential splashes.
- If you’re unsure about any step or encounter complex issues, consult a professional plumber for assistance.
Final Thoughts
Maintaining a functional pressure valve on your hot water heater is crucial for the safety and efficiency of your appliance. Regularly inspecting and promptly addressing any issues with the valve can prevent significant problems and extend the lifespan of your heater. Whether you’re a seasoned DIY enthusiast or a novice plumber, following these steps will help you tackle the task with confidence.
Remember, sharing your experiences and tips can benefit the community. If you’ve successfully repaired or replaced a pressure valve, we’d love to hear about it! Share your stories and insights in the comments below.
For more detailed guides and expert tips on home maintenance, don’t forget to subscribe to our newsletter!