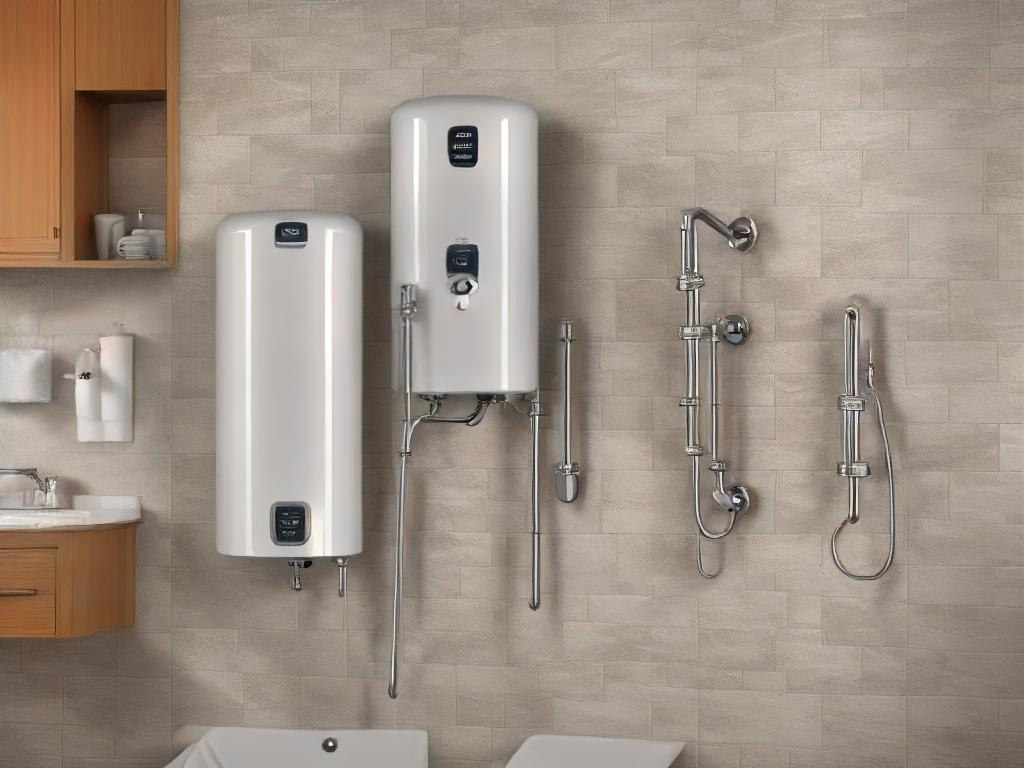
Electric water heaters are a staple in many households. They provide the convenience of hot water for showers, washing dishes, and laundry. However, like any appliance, they can encounter problems. Understanding how they work and knowing how to troubleshoot them can save you time, money, and frustration.
In this blog post, we’ll explore common issues with electric water heaters and provide practical troubleshooting steps for homeowners and advanced techniques for plumbers. By the end, you’ll be equipped with the knowledge to tackle most water heater problems confidently.
Common Problems with Electric Water Heaters
Electric water heaters are complex appliances, and several issues can arise. Some problems are minor and easily fixable, while others may require professional intervention. Here are some common problems:
- No Hot Water
This is perhaps the most noticeable and frustrating issue. When your electric water heater fails to produce hot water, it can disrupt your daily routine.
- Not Enough Hot Water
If your water heater produces hot water but not enough to meet your needs, it can be equally inconvenient. This problem often indicates an issue with the heating elements or thermostat.
- Water Heater Leaks
Leaks can cause significant damage to your home and increase your water bills. Identifying the source of the leak is crucial to prevent further issues.
- Unusual Noises
Strange noises from your water heater, such as popping, hissing, or banging, can be alarming. These noises often indicate sediment buildup or other internal problems.
Troubleshooting Steps for Homeowners
No Hot Water
If your electric water heater isn’t producing hot water, there are a few steps you can take:
- Check the Power Supply
Ensure that the water heater is receiving power. Check the circuit breaker to see if it has tripped. If it has, reset it and see if the heater starts working. If the breaker trips again, there may be an electrical issue that needs professional attention.
- Inspect the Thermostat
The thermostat controls the temperature of the water. If it’s set too low, the water may not reach the desired temperature. Adjust the thermostat to a higher setting and wait for the water to heat up.
- Test the Heating Elements
Heating elements can fail over time. You can test them using a multimeter to check for continuity. If an element is faulty, you’ll need to replace it.
Not Enough Hot Water
When your water heater produces some hot water but not enough, consider these steps:
- Adjust the Thermostat
Sometimes, the thermostat may be set too low. Increase the temperature setting and monitor if the water temperature improves.
- Inspect the Heating Elements
One of the heating elements may be malfunctioning, reducing the heater’s capacity. Test both elements and replace any that are faulty.
- Check for Sediment Buildup
Sediment can accumulate at the bottom of the tank, reducing its heating efficiency. Flushing the tank regularly can help prevent this issue.
Water Heater Leaks
Leaks can be problematic, and it’s essential to address them promptly:
- Identify the Source of the Leak
Inspect the water heater for visible signs of leakage. Common sources include the pressure relief valve, drain valve, or fittings. Tighten any loose connections and replace damaged parts.
- Check the Tank
If the tank itself is leaking, it may be corroded. Unfortunately, a leaking tank usually means the water heater needs to be replaced.
- Inspect the Plumbing
Sometimes, the issue may not be with the water heater itself but with the plumbing connections. Check for any leaks in the pipes leading to and from the heater.
Unusual Noises
Strange noises can be unsettling, but they often have simple explanations:
- Flush the Tank
Sediment buildup at the bottom of the tank can cause popping or rumbling noises. Flushing the tank can help remove sediment and reduce noise.
- Check the Heating Elements
Sometimes, heating elements can develop scale buildup, leading to hissing or sizzling sounds. Inspect the elements and clean or replace them as needed.
- Inspect the Pressure Relief Valve
A faulty pressure relief valve can create a high-pitched whistling sound. Ensure the valve is functioning correctly and replace it if necessary.
Advanced Troubleshooting Techniques for Plumbers
Testing the Heating Elements
For plumbers, testing heating elements is a common task:
- Turn Off the Power
Before working on the water heater, ensure the power is turned off at the circuit breaker.
- Remove the Access Panels
Remove the access panels on the water heater to expose the heating elements. Use a multimeter to test each element for continuity.
- Replace Faulty Elements
If an element is defective, replace it with a new one. Make sure to follow the manufacturer’s instructions for installation.
Examining the Thermostat
Thermostat issues can affect water temperature:
- Turn Off the Power
Always turn off the power before working on the thermostat.
- Inspect the Thermostat
Check the thermostat for any visible damage or loose connections. Use a multimeter to test its functionality.
- Replace the Thermostat
If the thermostat is faulty, replace it with a new one. Ensure it’s set to the desired temperature.
Checking for Electrical Issues
Electrical problems can be challenging to diagnose:
- Inspect the Wiring
Check all wiring connections for signs of damage or loose connections. Repair or replace any damaged wiring.
- Test the Circuit Breaker
Sometimes, the issue may lie with the circuit breaker itself. Replace the breaker if it’s not functioning correctly.
- Consult an Electrician
If you’re unable to identify the electrical problem, it’s best to consult a licensed electrician for a thorough inspection.
Assessing Tank Integrity
A compromised tank can lead to significant issues:
- Inspect the Exterior
Look for signs of rust, corrosion, or dents on the tank’s exterior. These can indicate potential internal damage.
- Check the Anode Rod
The anode rod helps prevent tank corrosion. Inspect it and replace it if it’s heavily corroded.
- Test for Leaks
Perform a pressure test to check for any leaks in the tank. If the tank is compromised, consider replacing the water heater.
Tips for Regular Maintenance to Prevent Future Issues
Regular maintenance can extend the life of your electric water heater:
- Flush the Tank Regularly
Sediment buildup can reduce efficiency and cause noise. Flushing the tank every six months can prevent this.
- Inspect the Anode Rod
The anode rod protects the tank from corrosion. Check it annually and replace it if necessary.
- Test the Pressure Relief Valve
Ensure the pressure relief valve is functioning correctly. Test it regularly and replace it if needed.
Final Thoughts and Final Advice for Homeowners and Plumbers
When to Call a Professional
While many water heater issues can be resolved with DIY methods, some problems require professional intervention. If you’re unsure or uncomfortable with any troubleshooting steps, it’s best to call a licensed plumber.
The Importance of Regular Maintenance
Regular maintenance is crucial for extending the life of your water heater and preventing future issues. Simple tasks like flushing the tank and inspecting the anode rod can make a significant difference.