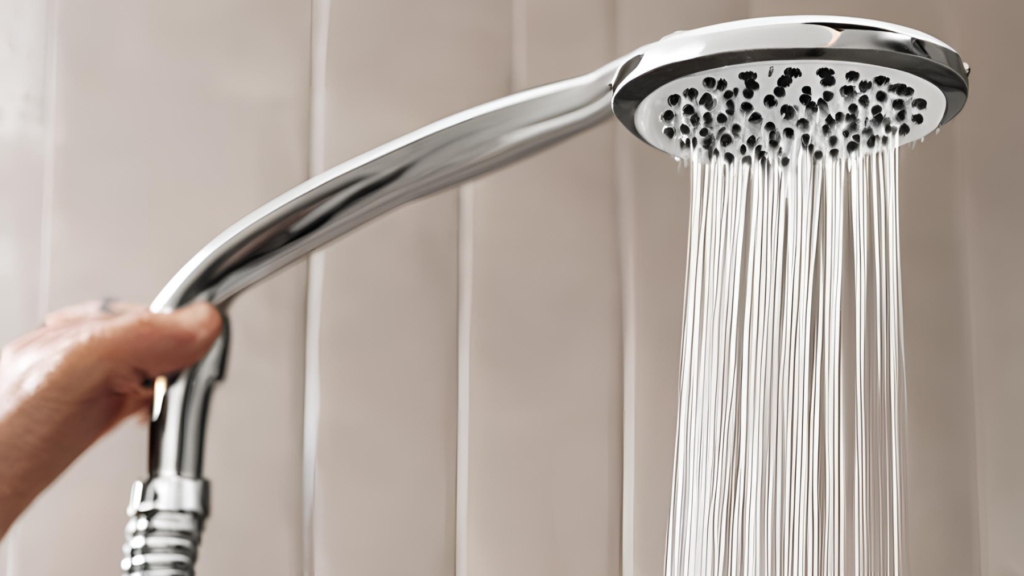
Is your handheld shower head turning your relaxing shower into a frustrating experience with those annoying drips? You’re not alone. Leaky shower heads are a common problem for homeowners and plumbers alike. But don’t despair! This blog post will walk you through everything you need to know about stopping your handheld shower head from leaking.
Understanding the Leak
Before we jump into the how-to, it’s crucial to understand why your shower head might be leaking in the first place. The most common culprits include worn-out washers, loose connections, and cracked hoses. Let’s break these down:
Worn-Out Washers
Washers are small, rubbery components inside your shower head that create a seal to prevent water from leaking out. Over time, they can wear out, harden, or crack, leading to leaks. If the washer is the issue, replacing it usually solves the problem.
Loose Connections
Sometimes, the problem isn’t with the parts themselves but how they’re connected. Over time, the connections can become loose, causing water to escape. Tightening these connections can often fix the leak immediately.
Cracked Hoses
The hose that connects your handheld shower head to the water supply can also develop cracks or splits, especially if it’s made of plastic. These cracks can lead to leaks that are not always easy to spot but can be solved by replacing the hose.

Tools You’ll Need
Before you start, gather all the necessary tools and materials. Having everything on hand will make the process smoother and quicker. Here’s a list of what you’ll need:
Wrenches
Adjustable wrenches are must-haves for loosening and tightening connections. Make sure you have one that fits the nuts and bolts on your shower head setup.
Plumber’s Tape
Plumber’s tape, also known as Teflon tape, is essential for creating a tight seal on threaded connections. It helps prevent leaks and is easy to apply.
Replacement Parts
Depending on the cause of the leak, you may need replacement washers, a new hose, or even a new shower head. Make sure to buy parts compatible with your current setup.
Step-by-Step Repair Guide
Now that you understand the potential causes and have all your tools ready, let’s get into the nitty-gritty of fixing that leak. Follow these detailed steps to ensure a successful repair.
Step 1: Turn Off the Water Supply
Before doing anything else, turn off the water supply to your shower. This will prevent any unexpected sprays and make the process safer.
Step 2: Disassemble the Shower Head
Using your adjustable wrench, carefully loosen the nut connecting the shower head to the hose. Keep all small parts in a safe place so you don’t lose them.
Step 3: Inspect the Components
Look closely at the washers, connections, and hose. Check for signs of wear, hardening, or cracks. If you identify the problematic part, you’re already halfway to solving the issue.
Step 4: Replace Faulty Parts
If you find a worn-out washer, replace it with a new one. Apply plumber’s tape to the threads of the connections and replace the hose if necessary. Make sure everything is tight but avoid over-tightening, which can cause damage.
Step 5: Reassemble and Test
Reattach the shower head to the hose, ensuring all connections are secure. Turn the water supply back on and test for leaks. If the problem persists, you may need to repeat the process to ensure all components are correctly installed.
Preventing Future Leaks
Fixing a leak is one thing, but preventing it from happening again is another. Regular maintenance and care can go a long way in keeping your handheld shower head in perfect condition.
Regular Inspections
Make it a habit to inspect your shower head and its components regularly. Look for signs of wear and tear before they become significant issues.
Proper Cleaning
Mineral deposits can build up inside your shower head, affecting its performance and leading to leaks. Clean your shower head regularly to prevent this.
Gentle Handling
Avoid rough handling or twisting the hose too tightly. Gentle use can extend the life of your shower head and prevent unnecessary leaks.
Final Thoughts
A leaky handheld shower head can be more than just an annoyance; it can lead to higher water bills and potential water damage.
By understanding the basic anatomy of your shower head and following the steps outlined in this guide, you can enjoy a leak-free shower experience. Remember, prompt repairs and regular maintenance are key to keeping your shower head in top shape.
If you’re feeling unsure or need an expert’s touch, don’t hesitate to consult a professional plumber. For those ready to tackle the issue head-on, gather your tools, follow our guide, and say goodbye to those pesky drips. Happy repairing!